Installing a Gravel Driveway or Road
Step 1: Deciding a Layout
There are a few things to consider when hiring an excavating contractor gravel driveway installation service or gravel driveway repair . Start by deciding on how wide it should be. Obviously for roads that may have more than one vehicle at a time it might be a good idea to make it wide enough to fit 2 vehicles side by side. For less busy roads a narrower path is just fine. The distance between the main road and the structure will determine how wide it should be. For longer distances a narrower path is more aesthetically pleasing while a shorter distance is better complimented with a wider path.
Step 2: Clearing a Path
Clearing a path for a private road or driveway may require some land clearing. It may most likely require some tree and stump removal as well as some brush removal and excavation. Keep in mind that your path will need to be about 12" - 18" deep to have enough room for all the material that will be required for a reliable road or driveway. Depending on the time of year trees, stumps, and debris can be burned on site. This may sometimes require a burn permit that can in most cases be easily obtained by your local government. Any dirt that is excavated can be used as fill on the property or will need to be hauled off site by the excavating contractor and is included with the gravel driveway installation service.
Step 3: Marking the Boundaries
Having a straight path may seem ideal but can reduce privacy as well as increase local road noise. Lastly depending on the type and size of trees in the way it could be most cost effective and eco friendly to leave larger trees where they are and just go around them when deciding on a path to clear. Either way use landscaping stakes every 10-20 feet on both sides making sure that you are maintaining the same width along the way. You can use some bright colored string or twine to connect the stakes on each side giving you a visual aid of what it will look like.
Step 3: Prepping & grading
Once a path has been decided and cleared its time to prep the area by removing a layer of earth to allow for enough gravel for a solid foundation and proper drainage. The amount of earth that needs to be removed depends on how soft or hard the terrain is and if there are any tree roots exposed as this will cause damage to the surface as it rots and deteriorates. Washington state is know for having diverse terrain so we may need to remove more in some places than others to ensure that you're finished road or driveway is not prone to run off and remains level and solid for as long as possible.
Step 4: Rock & Gravel
After the path has been cleared and properly excavated it is recommended to install a heavy duty commercial grade landscaping fabric. This will prevent any type of vegetation to grow through the rock and gravel compromising the structural integrity. A 4-6" layer of larger rock is laid next to create a strong foundation and to allow for water to drain. Once this layer is spread evenly and compacted with heavy machinery. Then a second 4-6" layer of smaller gravel is laid, spread, and compacted to fill any large holes in the layer below while still allowing for proper drainage.
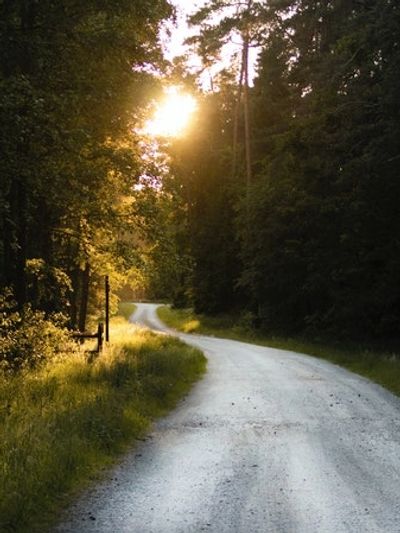
Step 5: Crowning Final Layer
Water is by far what causes the most damage to gravel roads and driveways. The final and finished layer of gravel is then laid, graded, and compacted so that it "crowns" or peaks in the middle and slopes down slightly lower on both sides of the driveway. This will allow for most of the water from rain to immediately run off on either side before making its way down into the rocks below. You may occasionally need maintain the peak as it will slowly level out over time from the weight of vehicles driving on it to prolong the amount of time before you need additional gravel driveway repair.
